If you want to export Manim files in .gif format, pass the -i flag into the Terminal. You will find your output file in the same location as your other animation files.
Here’s how to export your Manim animations as GIF files using VS Code:
How to export Manim animations as gif files with VS Code
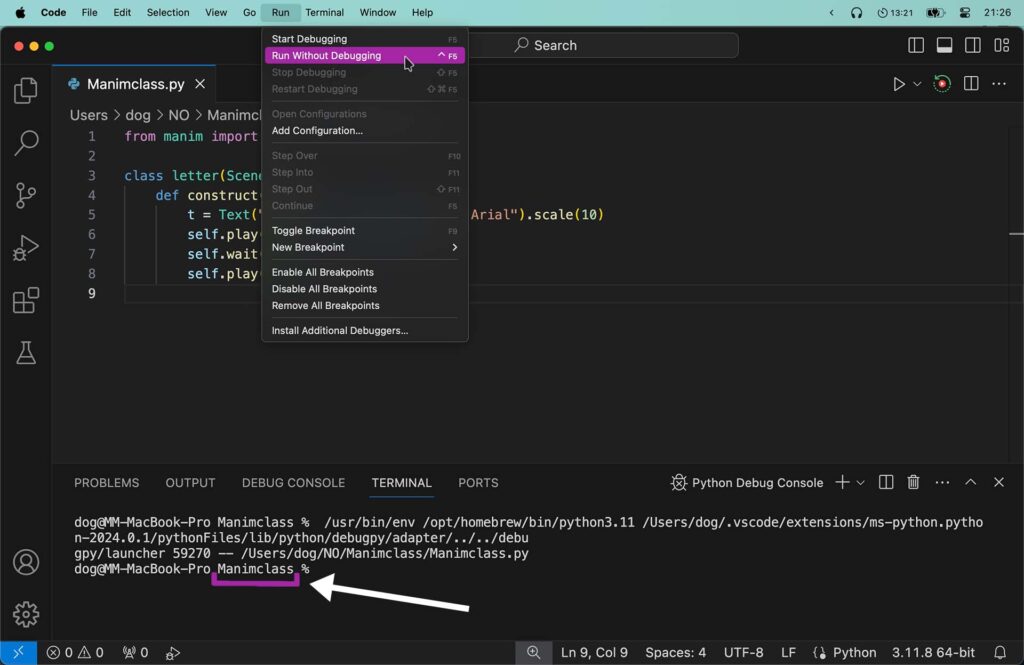
1. Run your Python code without debugging
I discovered that if you run your Manim code without debugging it immediately takes you to your Python file location in the terminal window that opens up in VS Code (so you can skip the second step).
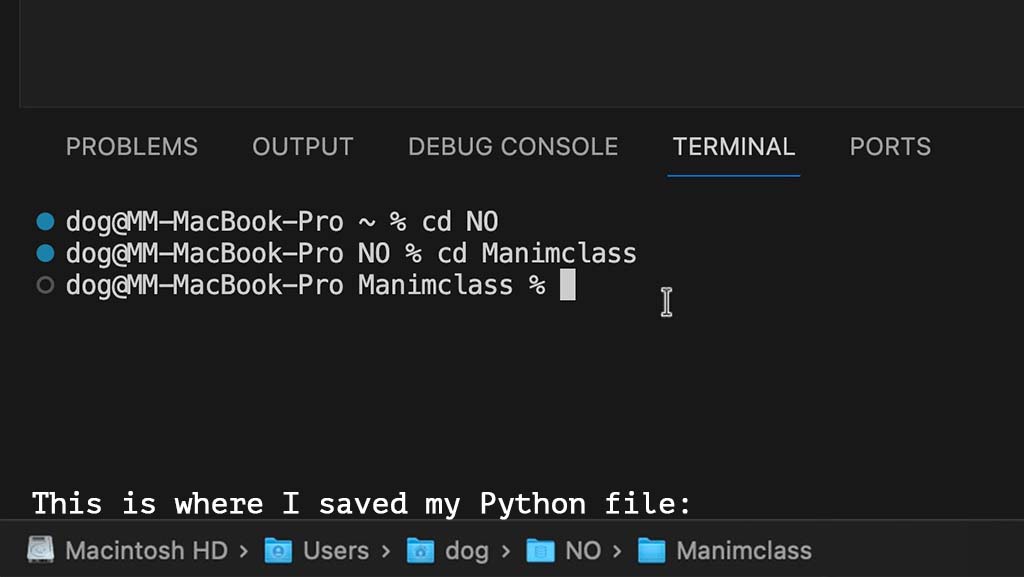
2. Navigate to your Manim Python file location through the Terminal
If the VS Code terminal window opens up and you see that you’re not in the location of where your Python file is, then you have to navigate there through the Terminal.
I already made an in-depth explanation of how to navigate to your file location through the terminal here.
Also, here’s a YouTube video if you want to learn more about how to move through your file system by using the Terminal.
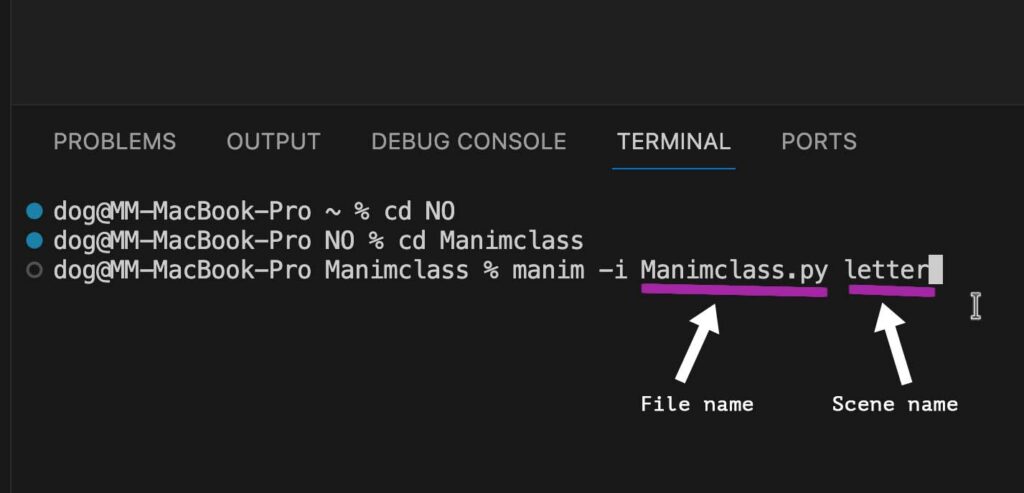
3. Pass the -i CLI flag into the terminal
Once the Terminal opens up inside of Visual Studio Code type:
manim -i file_name scene_name
Example:
manim -i animations.py funnyIn this example “animaptions.py” is the Python file name that I use to write code for Manim animations, “funny” is the name of my Manim scene, and -i is the CLI flag that lets you export your animation in .gif format.
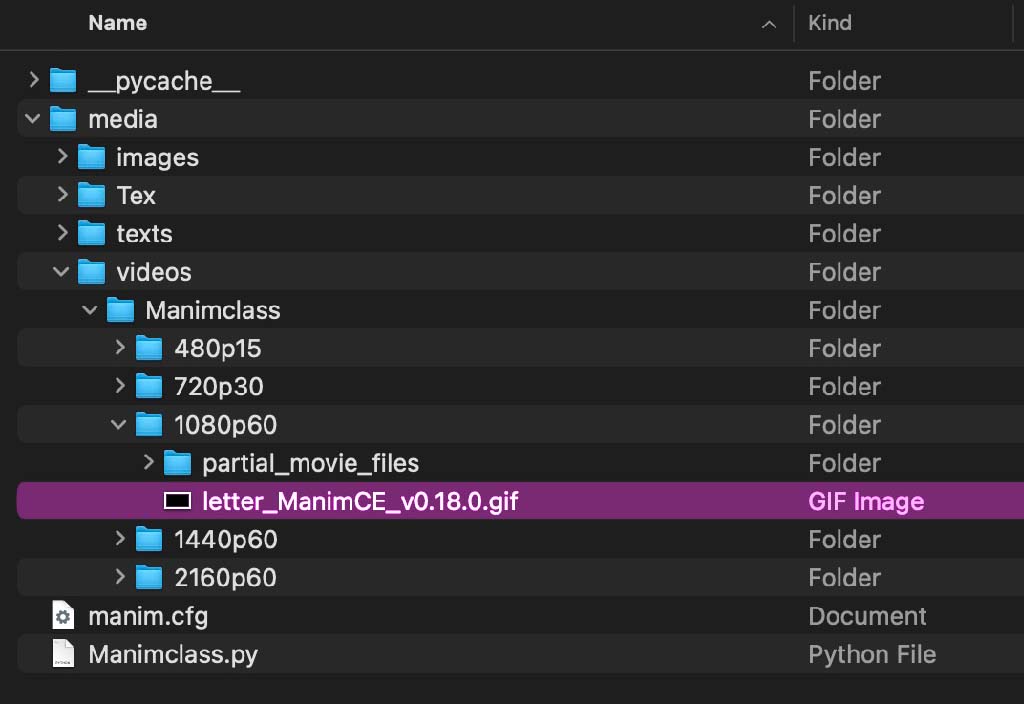
4. Locate the GIF output file on your computer
Your output file will be in the same location as your other animation files, that is inside of a folder where your Python file (that you use to write Manim code) is saved.
Let me help you learn Manim
If you want to skip the headache of trying to learn Manim from a bunch of scattered information, I put together a comprehensive 3-hour Manim course for complete beginners.
It will give you all the foundational skills you need to start creating stunning animations with code.
Enroll In Manim Course For Beginners